
Supplies:
-Wooden Letters (We got our from http://www.thoughtsinvinyl.com/wooden-letters.html?p=1)
-Glue Gun
-Scissors
-Acrylic Paint
-Sponge Brush
-Mod Podge
-Sand Paper
-Craft Knife
-Cutting Board
-Pencil
-Craft Paper
First pick out the different colored papers you want for each letter and shape. Then trace the letters and shapes (My mom and I put a different colored paper on each side of the base of the bird) on the paper you want, this does not have to be perfect because you will be cutting off the edges with the knife after you glue on the paper.

Now cut out the letters.

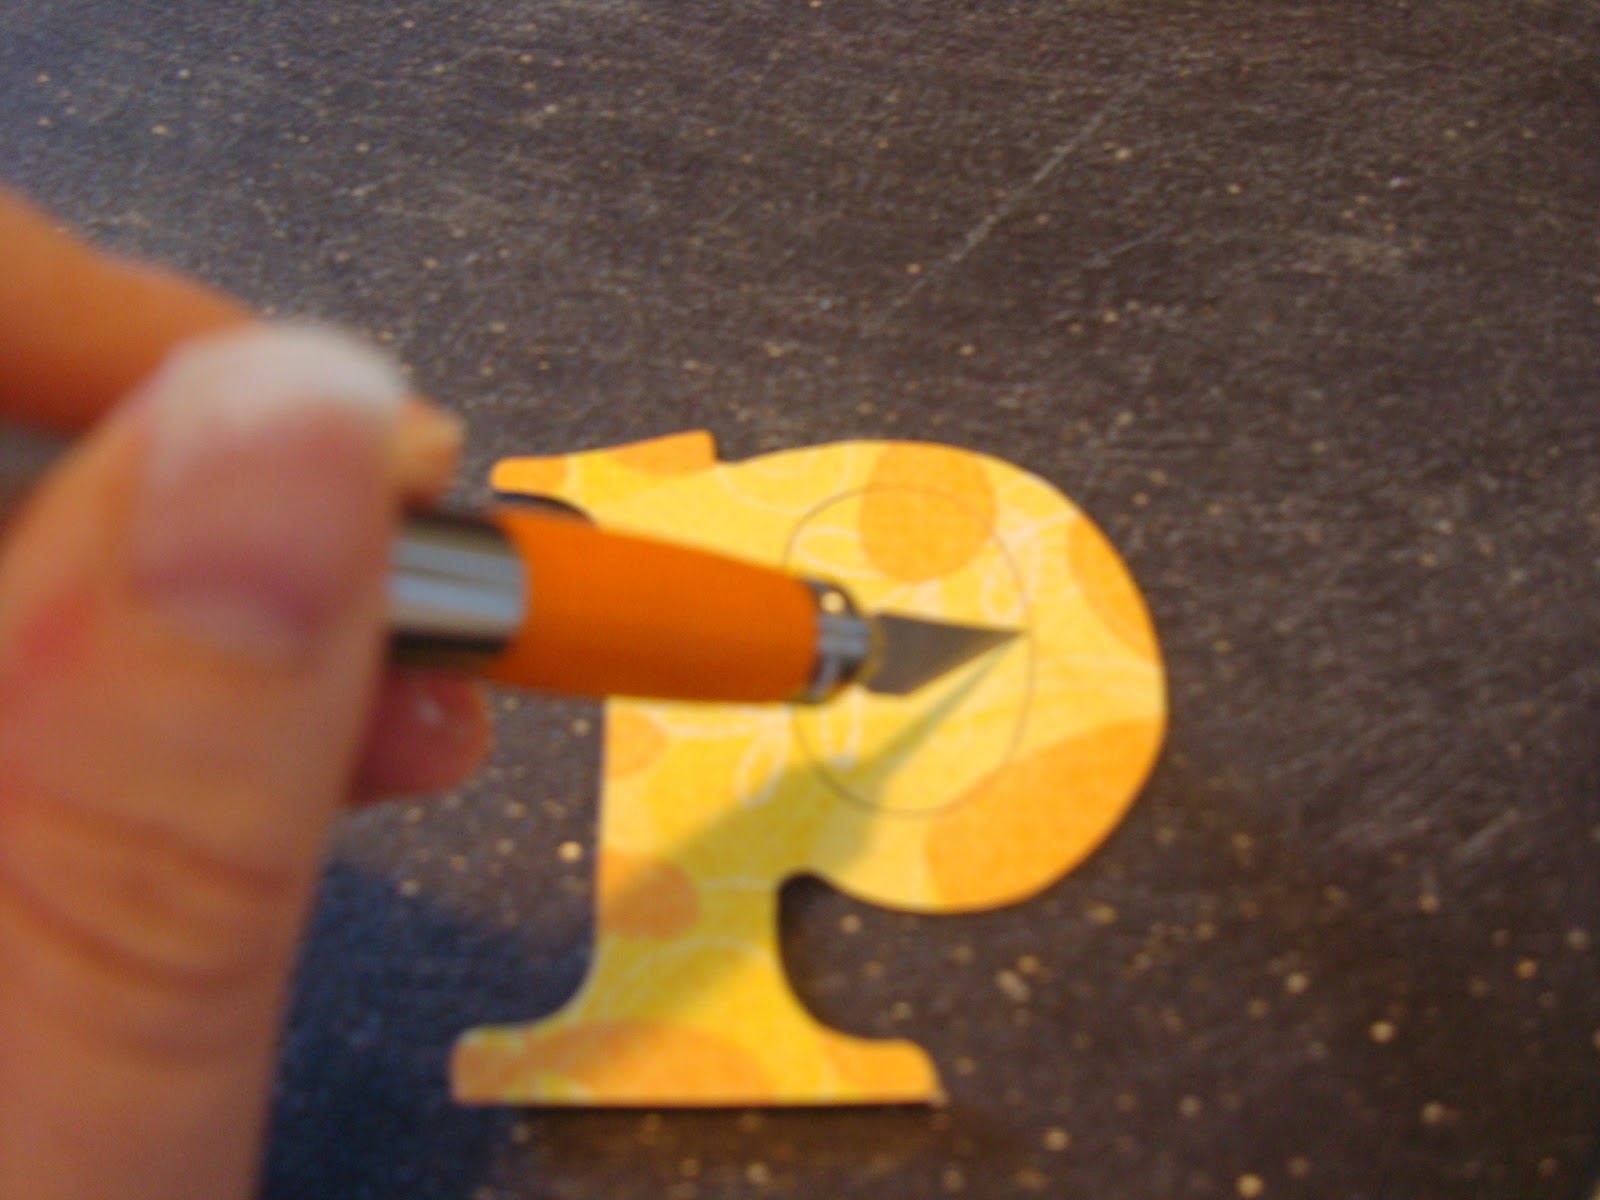
Use the knife to cut out any shapes that have a hole in the middle like the P and R.
Paint the Sides and back of the letters, also don't forget to paint the insides of the letter.


After the paint has dried double check that you have painted all of the letter that you need to paint because if you have not it will be hard to go back and paint it after these next steps. After you have checked the paint you are now going to start putting the paper letters and shapes onto the wood letters and shapes. Brush mod podge on the wood letter or shape on the front side and stick your paper letter on top and put it aside while you do the rest so that it can dry.


After the mod podge has dried you are going to use the knife to cut down the edges.

You can also at this time sand the edges to give it more of an antique look but I didn't sand mine too much because I was too scared that it was going to rip the paper.
Now brush a final coat of mod podge over the top to make a seal.

Put the pieces together, in the spring one you only need to put the bird together, and set it up somewhere in your house and you are done!
This one is mine!

This one is my mom's!

Steps:
1. Trace the letters and shapes.
2. Cut out the letters and shapes.3. Paint the letters and shapes.
4. Put the paper letters and shapes on the wooden letters and shapes with mod podge.
5. Let them dry.
6. Cut off edging.
7. Brush mod podge over the tops of the letters and shapes.
8. Glue the wing onto the bird after the mod podge has dried.
9. Set it up somewhere cute in your house.
This was so much fun and I hope you enjoyed seeing how it is done! If you decide to try this out after reading this let me know in a comment below.
Happy Spring!
So much fun doing this with you yesterday!
ReplyDeleteSuper CUTE!
ReplyDeletethis is super cute! The big for the "I" is my fav part of the set
ReplyDelete-Stacey
Gluedtomycrafts.blogspot.com