Sunday, March 31, 2013

Easter!

It's Easter Sunday! I think that now that I am too old for the Easter bunny, I have been for a while now, that I have been able to get a lot more out of Easter Sunday than those years when I just sat anxiously through church to get home to see what was in store for me in my Easter basket. This Sunday I got the privilege of teaching the Easter Sunday lesson to our class, Ryan and I teach the 6-8 year olds it is a combined class in our ward. I was able to feel the spirit testify to me that what I was teaching to these children about Christ and his resurrection were true and I know that these things are true.

These past few months teaching these kids have been such amazing months and I am so grateful for the opportunity that Ryan and I had to teach them and to share our testimonies with them and to have them share their testimonies and lights with us. Children are so precious and innocent and they are truly gifts from God!

This week was unfortunately our last week in the Southbury ward and I am very sad about that because I love these kids so much. For our last Sunday I wanted to do something special for the kids because they have been so good and so I decided to make them all a special Easter treat and I think they turned out so well, here is what I made:

Easter Basket Cookies


You will need:
-Licorice Rope, any kind I could only find the twizzlers rope and I peeled them apart
-Life Savers
-Different colored sprinkles, as many as you want
-Jelly beans
-Sugar cookie dough
-Icing (not in the picture I made this after the cookies had cooled) 

I also ended up using muffin tins and pam so those are things you should also keep handy plus ingredients for the sugar cookies and icing but those will come up later.

First you need to make the sugar cookie dough. I used a recipe that I found from foodnetwork.com .

Ingredients

3 cups all-purpose flour
3/4 teaspoon baking powder
1/4 teaspoon salt
1 cup unsalted butter, softened
1 cup sugar
1 egg, beaten
1 tablespoon milk
Powdered sugar, for rolling out dough

Directions

Sift together flour, baking powder, and salt. Set aside. Place butter and sugar in large bowl of electric stand mixer and beat until light in color. Add egg and milk and beat to combine. Put mixer on low speed, gradually add flour, and beat until mixture pulls away from the side of the bowl. Divide the dough in half, wrap in waxed paper, and refrigerate for 2 hours.

 After it has been 2 hours or more take the cookie dough out of the fridge and roll into balls. I rolled my balls so they were a perfect size for the mini muffin tins that I used. When my mom and I were rolling the dough into balls she used a cookie scoop and you can do that if you want it helps to keep it less messy but I just estimated the sizes and made them with my hands, either way works.

You should now spray your muffin tins with  pam so the cookies don't stick while they are baking.

Now you are going to roll the balls of dough in sprinkles! This is a very messy process but it was fun.

After you have rolled them all you should put them in the muffin tins and they should look like this:

I'm not sure if this next step is necessary or not but I probably wouldn't do this recipe again without doing this step again because it makes things later on easier. We used a melon baller to push in the center of the balls to make the inside of the basket.


Then I put them in the oven for about 10-15 minutes but I wasn't paying too close attention you would have to estimate when to take them out but they shouldn't take more than 20 minutes. While they were in the oven I put a hand full of lifesavers in a food processor to chop them up really small.
Then right after the cookies came out of the oven we pushed the centers in again with the melon baller because they had gone up when cooking.


While you are letting the cookies cool you are going to need to make icing which my mom made a simple icing with milk, powdered sugar and vanilla and she made it to taste and to a texture she liked but you can find plenty of recipes online. After the cookies have cooled and you have made the icing you will put a little bit of icing in each cookie center, we filled them to the top but no further than that.
 Now you right away you will put the crushed up lifesavers on top of the icing, you can also used shaved coconut here but I liked the life savers, to make it look like the colorful grass you put in Easter baskets. After that you stick in the licorice ropes in the icing on either side of the inside of the cookie, make them to a size you like, and put a couple jelly beans in to represent eggs. This is what your finished cookie Easter basket will look like, hopefully even better!

These were so much fun to make and the kids loved them! I didn't think they were too bad either! =)
If you end up making this let me know how it turns out!

Saturday, March 30, 2013

My New Blog "The Blegen Bunch"

So I decided to switch over to blogger because the other website was a little confusing to use and I found this cute template! I have not posted a blog in a few days because I have been trying to figure out how to put up a custom template but I finally figured it out and I can't wait to start getting more posts up! Tomorrow's post is going to be so much fun and I am going to start making them whenever I get this up so sorry this post is so short but that is why because I am so anxious to try out this new activity! I hope you keep reading and I promise I will post blogs on a more regular basis now that I know for sure what website I would be posting on!

Parenting and Discipline

I wanted to stray away from my original kind of post and I wanted to talk about something that has been on my mind a lot lately. This topic that has been on my mind is discipline and how I am going to discipline and when I am going to discipline. Believe me I know that punishing Savannah is not going to be an easy thing to do especially because her eyes are so beautiful but I know that in the long run it will benefit Savannah.
When I was growing up my parents did not take any crap from me and I thank them for that. I don’t think I would be the same person I am today without the structure that my parents set up in my life and it makes me appreciative for the way they chose to raise me. I know that that discipline is the reason for why I am so honest and the reason that I have so much respect for others and that is something that I was to instill into Savannah’s life.
I found 10 ways of disciplining children that I agreed with, and notice that there is no spanking on the list, I am not for spanking because I think it just makes the child fear their parents and I always want my children to know that they can trust me and come to me about anything even something they did wrong and that they don’t have to be scared to do so. The list below I found at LiveStrong,com and if you want just read them over and think of the ones you would like to use in your parenting styles.

Time Out

“A time out is an extremely common technique that can be used anywhere. It’s wise to choose a certain corner or chair at home so kids know to go directly there when issued a time out. “Focus on the Family” recommends assigning one minute for each year of the child’s age because too much time assigned minimizes the purpose of sitting alone to think about whatever wrong choice landed them there.”
I like this technique because it gives both yourself and the child sometime to calm down before you talk to them about what happened but something both my husband and I agree on is that children should never be sent to their room for timeout especially if they have toys or electronics in their room. (Having electronics in a child’s room is also something my husband and I do not want to happen because it is just a disaster waiting to happen.) It will not be a punishment if they can distract themselves while they are supposed to be thinking about what they have done wrong so a time-out should be somewhere like at the bottom of the stairs or on a dining room chair.

Distraction

“Distracting a child or removing them from the situation is very helpful, especially for kids under two. Until their second birthday, children cannot quite understand consequences, so distraction is key for the little ones. If your child keeps pulling papers from your desk, you simply need to move him away from the desk and distract him with another toy or snack.”
I think that knowing this will keep me from getting frustrated.

Grounding

“Grounding kids from their favorite activities is a huge motivator for good behavior. Young kids can be grounded from playing outside for a few hours while older kids can be grounded from leaving the house for a few days.”
One thing that my husband is big on is meaning what you say like if you give your child a warning that if they don’t listen they will not be able to go to their friends house and then if the child continues to not listen than you have to go through with the punishment or the child will know that you are just full of words but no actions and they will not respect you but I know that this will be a hard thing for me to do because I don’t like to upset people especially those who I love but I know that in the long run it will be good for my relationship with my children.

Deny Privileges

“Taking away privileges is a technique along the same lines as grounding; you simply “ground” a child from her favorite toy or activity in the house. Taking away television time or video games motivates kids to make the right behavioral choices; just be sure to “choose a meaningful privilege that your child will greatly miss,” according to “Focus on the Family.”"
I think this is a good punishment because it teaches children that the objects in their lives are privileges and they earn them with good behavior and that they do not have a right to things.

Natural Consequences

“Teaching children about natural consequences helps them learn that there are rules not only in the nuclear family but also in the whole world. If Timmy refuses to do his homework, instead of taking away his television time, you can allow him to choose not to do it while explaining the trouble he’ll face in school. If he still doesn’t budge, allow the failing grade or the scolding from the teacher to serve as a reminder of the consequences of his actions.”
These are important consequences because they teach children that there aren’t just consequences to their actions at home but there are consequences to their actions every where.

Logical Consequences

“This technique is recommended by “Focus on the Family” to show kids that they have to be responsible for their choices. For example, if Anna kicks the soccer ball in the house even though it’s against the rules and breaks a window, she has to help clean it up and work off a certain amount of money to replace the window by doing chores around the house.”
I like this too because it teaches children responsibility and to take responsibility for their actions.

Model Good Behavior

“When teaching a child between right and wrong, many disciplinary actions can be avoided by modeling good behavior to your children. In his book, “Bringing Up Boys,” Dr. James Dobson writes, “there is no substitution for parental modeling of the attitudes we wish to teach.” If siblings frequently get in trouble for yelling at each other, make sure to keep your temper and your yelling under control to demonstrate what you expect from them. Discipline is about teaching rather than punishing; any form of instruction motivates children to behave.”
This is so important because children do watch everything we do and especially with yelling, you need to teach your children to communicate in a healthy way but if you are always yelling to communicate with them than that is how they will communicate with you.

Positive Reinforcement

“Many parents forget about this technique of catching children in the act of being good. If little Jack is playing nicely with his toys in his room while you fold laundry, peek your head in and tell him how much you appreciate his good behavior. Children love attention and will be motivated to make their parents proud if they sense their proper behavior gets them noticed.”
I also think that this technique is a great way to help your child’s self-esteem go in a good direction because they will know that they are not the only person who sees them do good but other people know the good things they can do instead of only getting negative reinforcement which will teach them that they are bad children and can do nothing good.

Ignore

“Although it can be frustrating, ignoring a whining child can sometimes be the easiest way to get her to stop. Children learn very quickly that simply annoying you for a period of time may get them what they want. Rather than give into their fits, ignore their pleas for attention. This also works well for sibling arguments; unless one or both are at risk of getting hurt, let your children figure it out themselves.”
I have never heard of this one being taught especially during a fight between children but it is something I will consider trying with my kids when they are older because it sounds like something that might work especially if they are throwing a tantrum because they want something they can’t have.

Rewards

“Reality host of “Supernanny” Jo Frost is a firm believer in rewarding kids for their good behavior. She uses all kinds of techniques like sticker charts, treat jars and the accumulation of television time to motivate children to make the right choices. Understand the fine line between reward and bribery; you should not say, “If you stop whining for this cereal, I’ll buy it for you.” Whining is not a reward-worthy behavior.”
I love Supernanny because it teaches me so much and makes me think so much about what kind of parent I want to be and sometimes it is easy for me to convince myself that I am just going to be their friend but children need someone who can be their friend but who can also be the boss.
I took a couple child development classes and I have watched a lot of the Supernanny shows but I know that I am no expert at parenting so you can decide to either take or leave my advice.  I think that it is a lot easier to learn to be a parent from experience more than reading a book and my 3 month old does not need much discipline (I don’t discipline her at all just in case you were wondering) right now but I am hoping the things I know now will help aid in my future disciplining so that I can keep order in my house and in my children’s lives.
DSC03545
It’s sure going to be hard to punish this beautiful little girl!

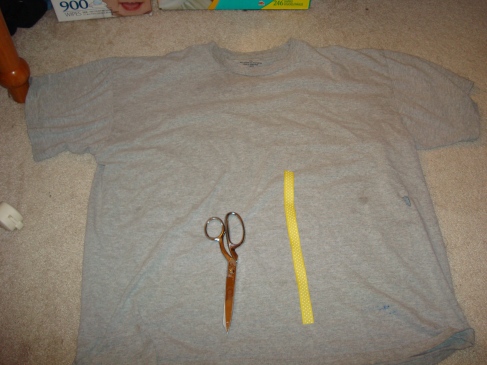
T-shirt Transformation

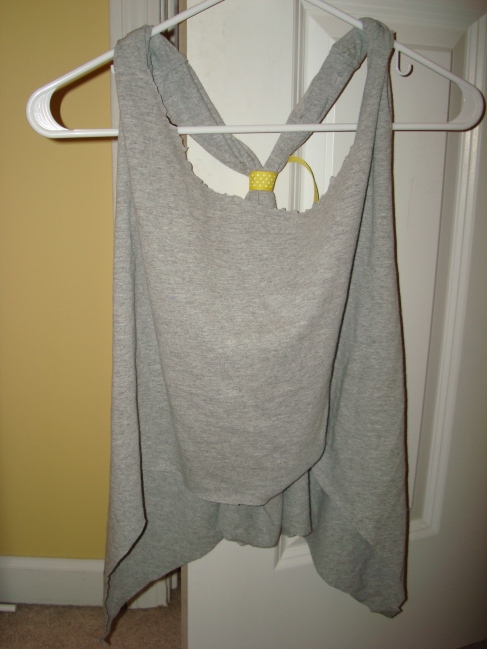
So pretty much this blog has and will be motivation for me to actually do the things I pin to my boards on pintrest and so far I have done a few things but there are hundreds more to go! Today’s craft didn’t go as well as I thought it was going to go but I think that the reason for that is because of the kind of t-shirt I used, it was kind of frumpy and old, but I got an idea for what it should look like and if I had used a better t-shirt than the end result would have been something I would actually wear. Well here is my failed attempt at a cute t-shirt transformation!
Image
This is a good project to mess up because it only requires 3 things and one of them can be used over and over again.
You will need:
An old men’s t-shirt
Ribbon
Scissors (I used sewing scissors and I would recommend using those also it makes it a lot easier a it makes it go a lot faster.)
Image
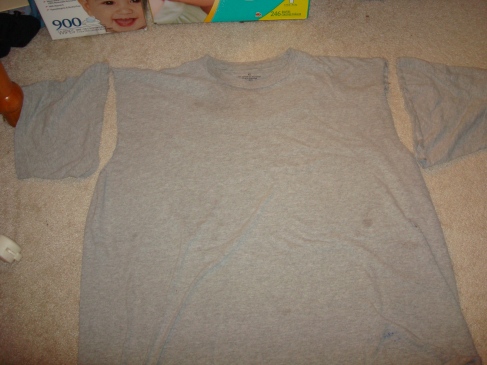
First cut off the arms.
Image
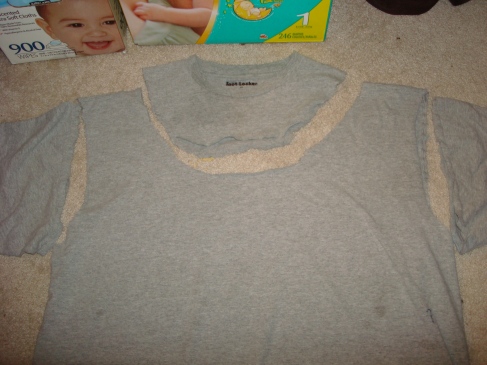
Next cut off the neck.
Image
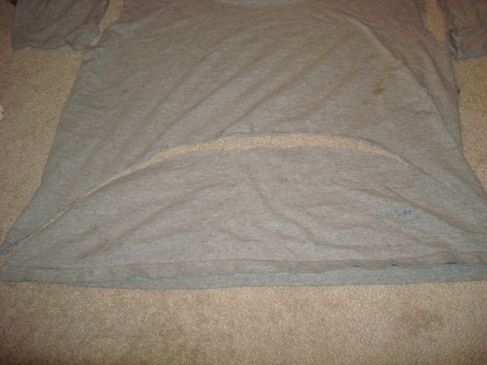
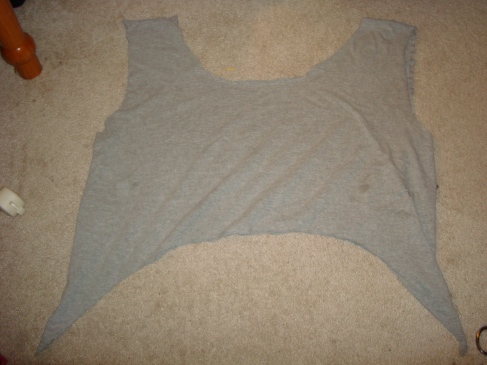
Next cut a big half circle/oval out of the bottom of the shirt starting at one corner and ending at the other corner.
Image
This is what your shirt should now look like after those three steps, well something like this!
Image
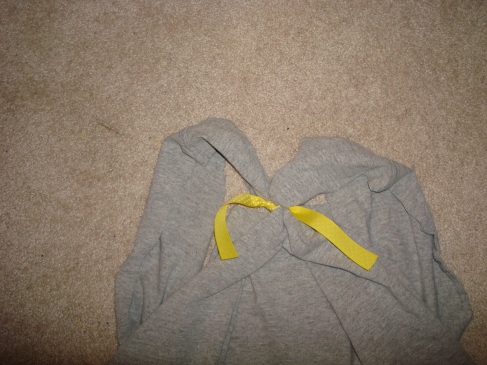
This part was a little hard to take a picture of to let you know what I was doing exactly but hopefully you can see what I did and if not I will try to explain. For this step you should put your hands through the sleeves like you are hanging the shirt in your hands. Next you are going to take the back of each sleeve and pull them together and wrap the ribbon around them.
Image
If I made any sense at all before than you should have something that looks like this, well hopefully better than this but if not it’s ok I need practice too!
Thanks for reading my post, if you try this let my know by commenting below!
DSC03540
Here is a cute new picture of my baby girl! I love her so much!!

Creamy Garlic Pasta

Today’s recipe is one that my husband and I made for a side last night for dinner and it is from Iowa Girl Eats. 
This is someone I am going to start following she has such great recipes and ideas on her blog.
The Creamy Garlic Pasta was so easy to make and it was liked by everyone especially my 11 year old brother who had three+ servings of it.
Ingredients:
8 oz. (1/2 lb.) of shell pasta or any other kind of pasta you want to use
1 Tbsp butter
1 Tbsp extra virgin olive oil
2 minced garlic cloves
2 Tbsp flour
3/4 C milk
3/4 C chicken broth
Salt and Pepper to taste
1/2 tsp. garlic powder (I did not add this)
2 tsp. dried parsley
1/4 C grated Parmesan cheese
First you will start your pasta and when it is done drain and put it to the side if your sauce is not done yet.
Image
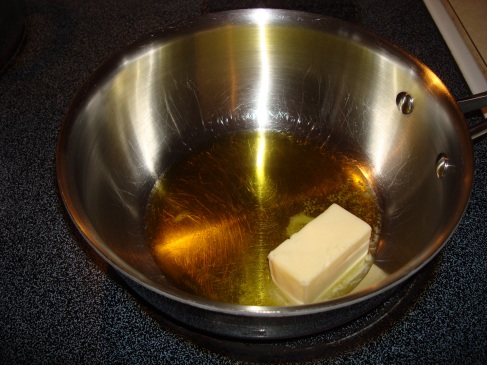
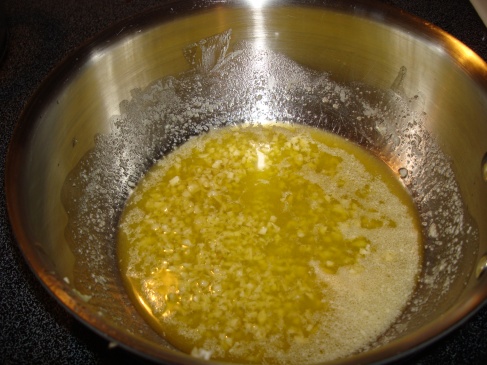
First melt the butter in the olive oil.
Image
This is what it will look like after the butter is melted.
Image
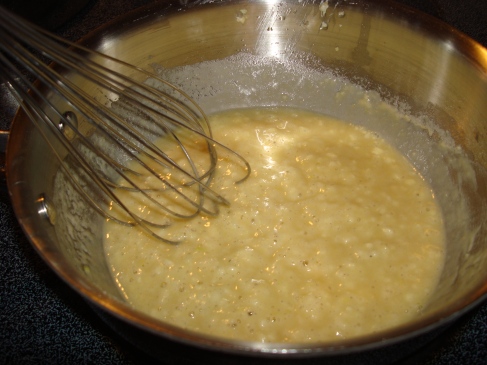
After the butter is melted add the minced garlic and cook until it is golden brown. After the garlic is golden brown whisk in the flour.
ImageImage
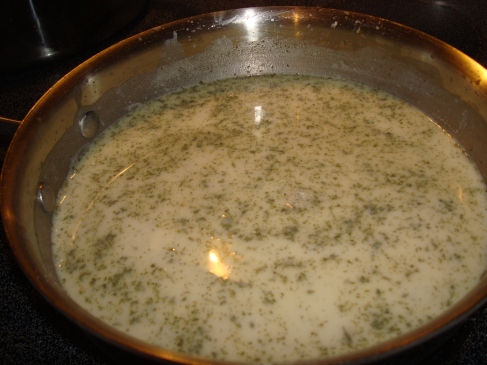
Now add the milk and Chicken Broth and season with salt and pepper.
Return to using a wooden spoon.
Image
On Iowa Girl Eats blog she says to now take it off of the heat but I did not and it still turned our well so you can take it off or leave it on which ever you prefer. This is also where you would add the garlic powder but this was a very garlicky that I was making so I left it out but I did add the parsley.
Image
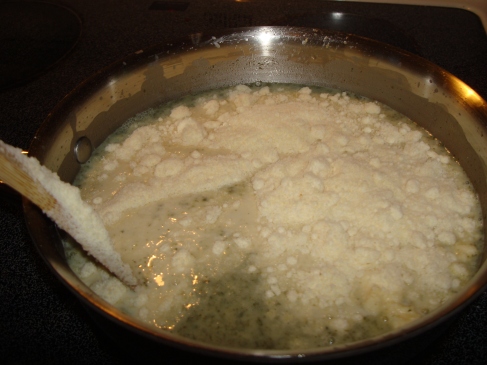
Now add and stir in the parmesan cheese. After you stir this in you can then pour the sauce over the pasta and mix it all around.
Image
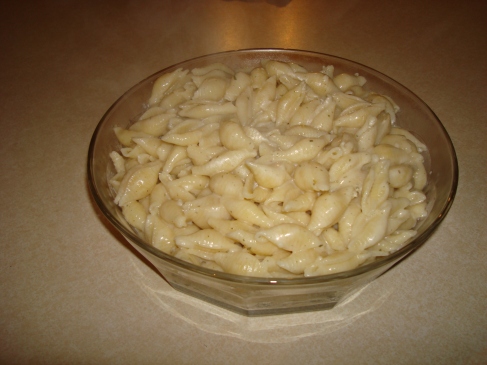
This is what the final product looked like. Yes it is as good as it looks!
Thanks for reading my post, if you try this let my know by commenting below!

Shrimp Scampi

Most of the time Ryan and I just think of something to make the day of by thinking of something that sounds good and that we have all the items for. So yesterday I thought it would be a good idea to make something with shrimp and pasta and Ryan thought of making Shrimp Scampi. We found a recipe online from The Food Network and it was so easy and yummy and we are totally going to make it again sometime. Here is the recipe!
Image
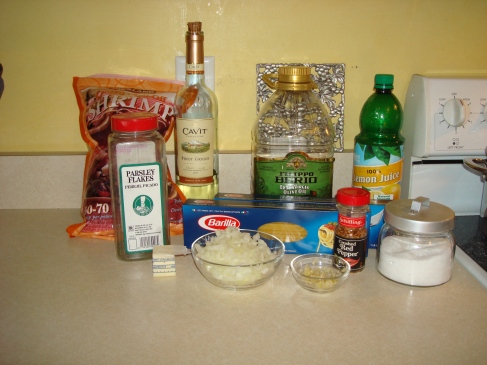
The ingredients needed are:
1 pound linguini
4 tablespoons butter
4 tablespoons extra-virgin olive oil, plus more for drizzling
2 shallots, finely diced
2 cloves garlic, minced
Pinch red pepper flakes, optional
1 pound shrimp, peeled and deveined
Kosher salt and freshly ground black pepper
1/2 cup dry white wine
Juice of 1 lemon
1/4 cup finely chopped parsley leaves
Image
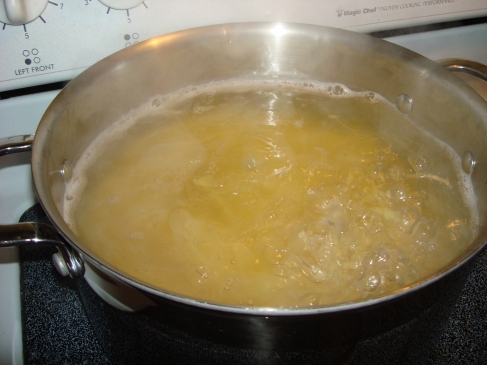
First start boiling water for the pasta and cook a couple minutes less than it says on the box.
While the pasta is cooking you will make the sauce and Shrimp.
Image
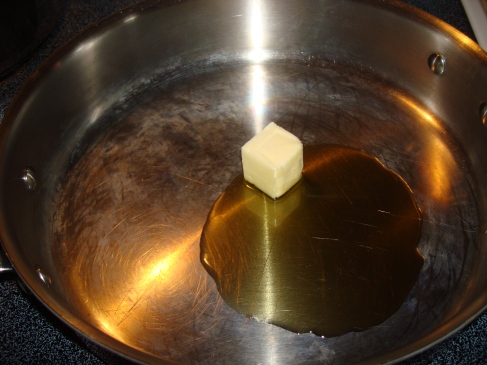
In a large skillet at 2 tbsp of butter and 2 tbsp of olive oil.
Image
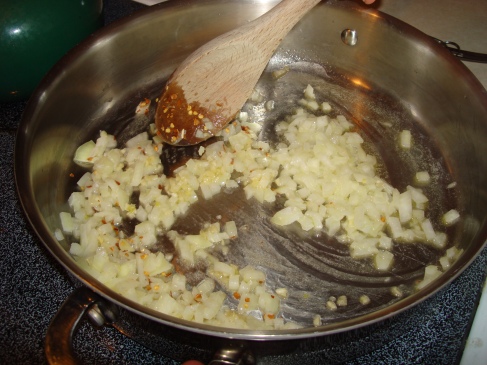
Now add the shallots (or onions that is what we used), garlic and red pepper flakes(if you are going to use these which we did, I thought it was going to make it spicy but it didn’t but I would add them the next time I make this recipe. Saute these ingredients until the shallots (or onions) are translucent.
Image
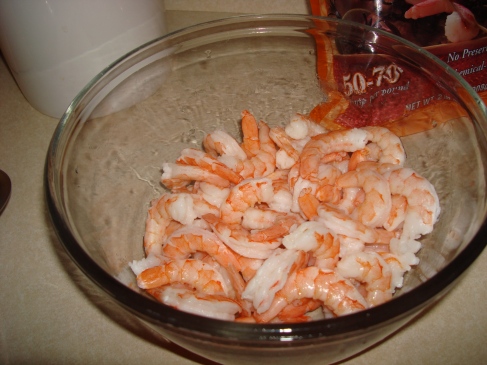
For the shrimp it says to cook them and then put them to the side when they are cooked but we had pre-cooked frozen shrimp so we defrosted them and took the tails off (the tails came right off because we defrosted them under hot water).
 DSC03505
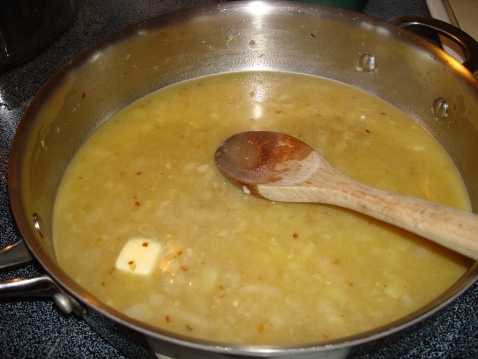
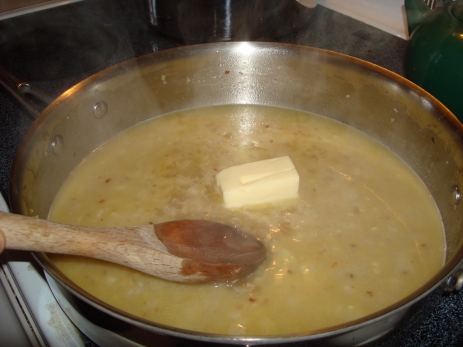
Now add the wine and lemon juice and bring to a boil. In this picture ignore the butter, halfway through the recipe we decided that it was not going to be enough food so we decided to double the recipe so this was more butter we should have added in the beginning but we added now.
DSC03506
Now add the rest of the Oil and butter.
DSC03508
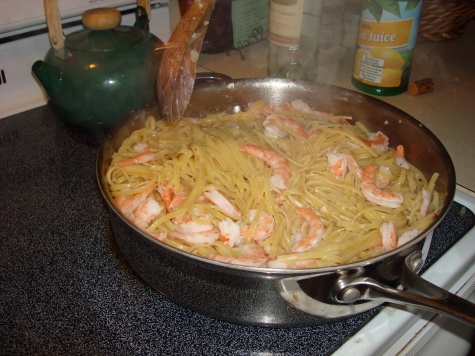
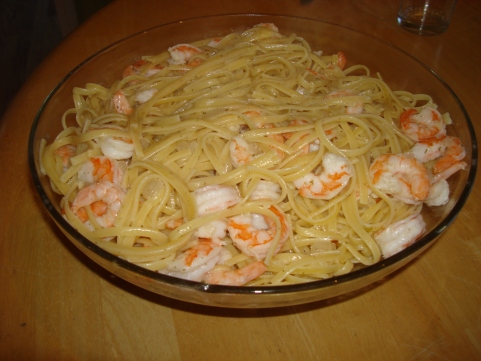
After the butter has melted add the shrimp, pasta (after it is cooked and drained) and parsley and mix it all around to spread the sauce. After you have mixed it well it is ready to be served!
DSC03510
YUMM!
This recipe makes 4-6 servings but we all could tell that it was not very filling at all so it is probably a good idea to make more and if you don’t eat it all it also makes for good leftovers, I had some for breakfast this morning!
Thanks for reading my post, if you try this let my know by commenting below!

P90X

A couple of weeks ago we got a visit from Dena, Jackie and Taylor ( Ryan’s mom and siblings). Before they came to visit I had asked Taylor if I could use insanity, work out discs, while he was on his mission. He had given insanity to his friend so he brought P90X instead. It is one of the hardest workouts I have ever done, the other hardest one I have done was insanity for a week when I was at BYUI I borrowed it from one of my roommates. I am so out of shape so every work out that I do it feels like death but I push through it and I always feel 100 times better the next day until I have to do the next workout.

I am about half way through the second week and I am really happy that I have even gotten this far. Sometimes I really have to push myself to even start the days workout but once I am done I feel so proud of myself. The reason I am doing P90X is not to loose weight, but that will be something that will probably be a result of it, but I want to get in good shape so that when Savannah starts moving around I can keep up with her throughout the day. I can already tell that I am getting in better shape because the workouts are getting less difficult everyday but I know they will never be easy since the instructors on the discs still sweat and have to push themselves through the workout. I can also tell that I have more energy throughout my days because I workout on a daily basis.

I can’t wait to see the results of the whole 90 days both mentally and physically because I know another result will be that I will feel so much better about myself physically and I want to be able to have a high self esteem so I can teach Savannah through example how important it is to have a high self esteem. If anyone is looking for a workout program you should definitely think about getting P90X. I love this program because it has variety, I am not doing the same exercises everyday and it focuses on all parts of the body so you don’t have to worry about if you are working out one part of your body more than another. Yes some days are hard and I have to push myself to finish the workout but those days are usually the ones that make it all worth it and I know it will all be worth it when I get to the end!

Image

http://www.beachbody.com/

My Blog "The Blegen Bunch"

I am so excited that I finally started a blog. The whole time I was pregnant I kept telling myself that I needed to start a blog about my pregnancy. As I came to the end of my pregnancy I realized my time was up for a pregnancy blog so I started thinking of starting up a baby blog where I would talk about Savannah and all the questions I had and adventures I would go through with her. That idea has been running through my mind for the last couple of months but I couldn’t ever figure out how to organize all my ideas into one blog.I finally decided that the blog for me would be one that would encourage me to learn new recipes and crafts but also be a place where I could update people with what is going on in the Blegen world and that is how “The Blegen Bunch” was born.

I am hoping to make one new recipe a week from Pintrest and then post the results here. Also I am going to look up some of the crafts I have pinned and share those successes and fails with you also. I can’t wait to start learning and sharing.